
You’ve made it! You’re ready to learn how to create your drum cover video. This week we will go over the gear necessary to create your first drum cover video. There are a wide range of microphones and cameras to choose from. The type of gear you use all depends on your needs and budget. You can spend as much or as little as your budget may allow. For now, go grab your favorite cup of Joe and let’s get started. There is quite a bit to go over.
1.) Cameras: We all have them, whether it’s a camera on our phones, iPads, or a standard hand held, we all have access to one. All of which are suitable for creating your drum cover videos. Popular cameras used for shooting drum cover videos include GoPro 3’s, 4’s, DSLR’s, to even Flip cameras. Do you remember those? I currently use a DSLR Canon EOS Rebel T5.

Canon EOS T5
Learn to use what you have. Don’t worry, you don’t need a super expensive camera to create a good drum cover video. I’ll show you how to optimize what you have to create a good drum cover video. If you plan to use your phone or a device like an iPad I will show you how to transfer your video files from these devices which are typically large files to your desktop or laptops in the proceeding weeks.
2.) Microphones. Like cameras there is a wide variety of microphones you can use. With good mixing techniques you don’t necessary need expensive microphones to achieve good audio recording for your drum cover video. If purchasing microphones are not in your budget, you can simply use the audio from your video recording device. Using external microphones however allows you to achieve better sounding audio for your drum cover videos. Currently I’m using two overhead condenser microphones, both MXL V250. They are an affordable option which give us a good sound for the price. Typically you can find these microphones discounted on MusiciansFriend.
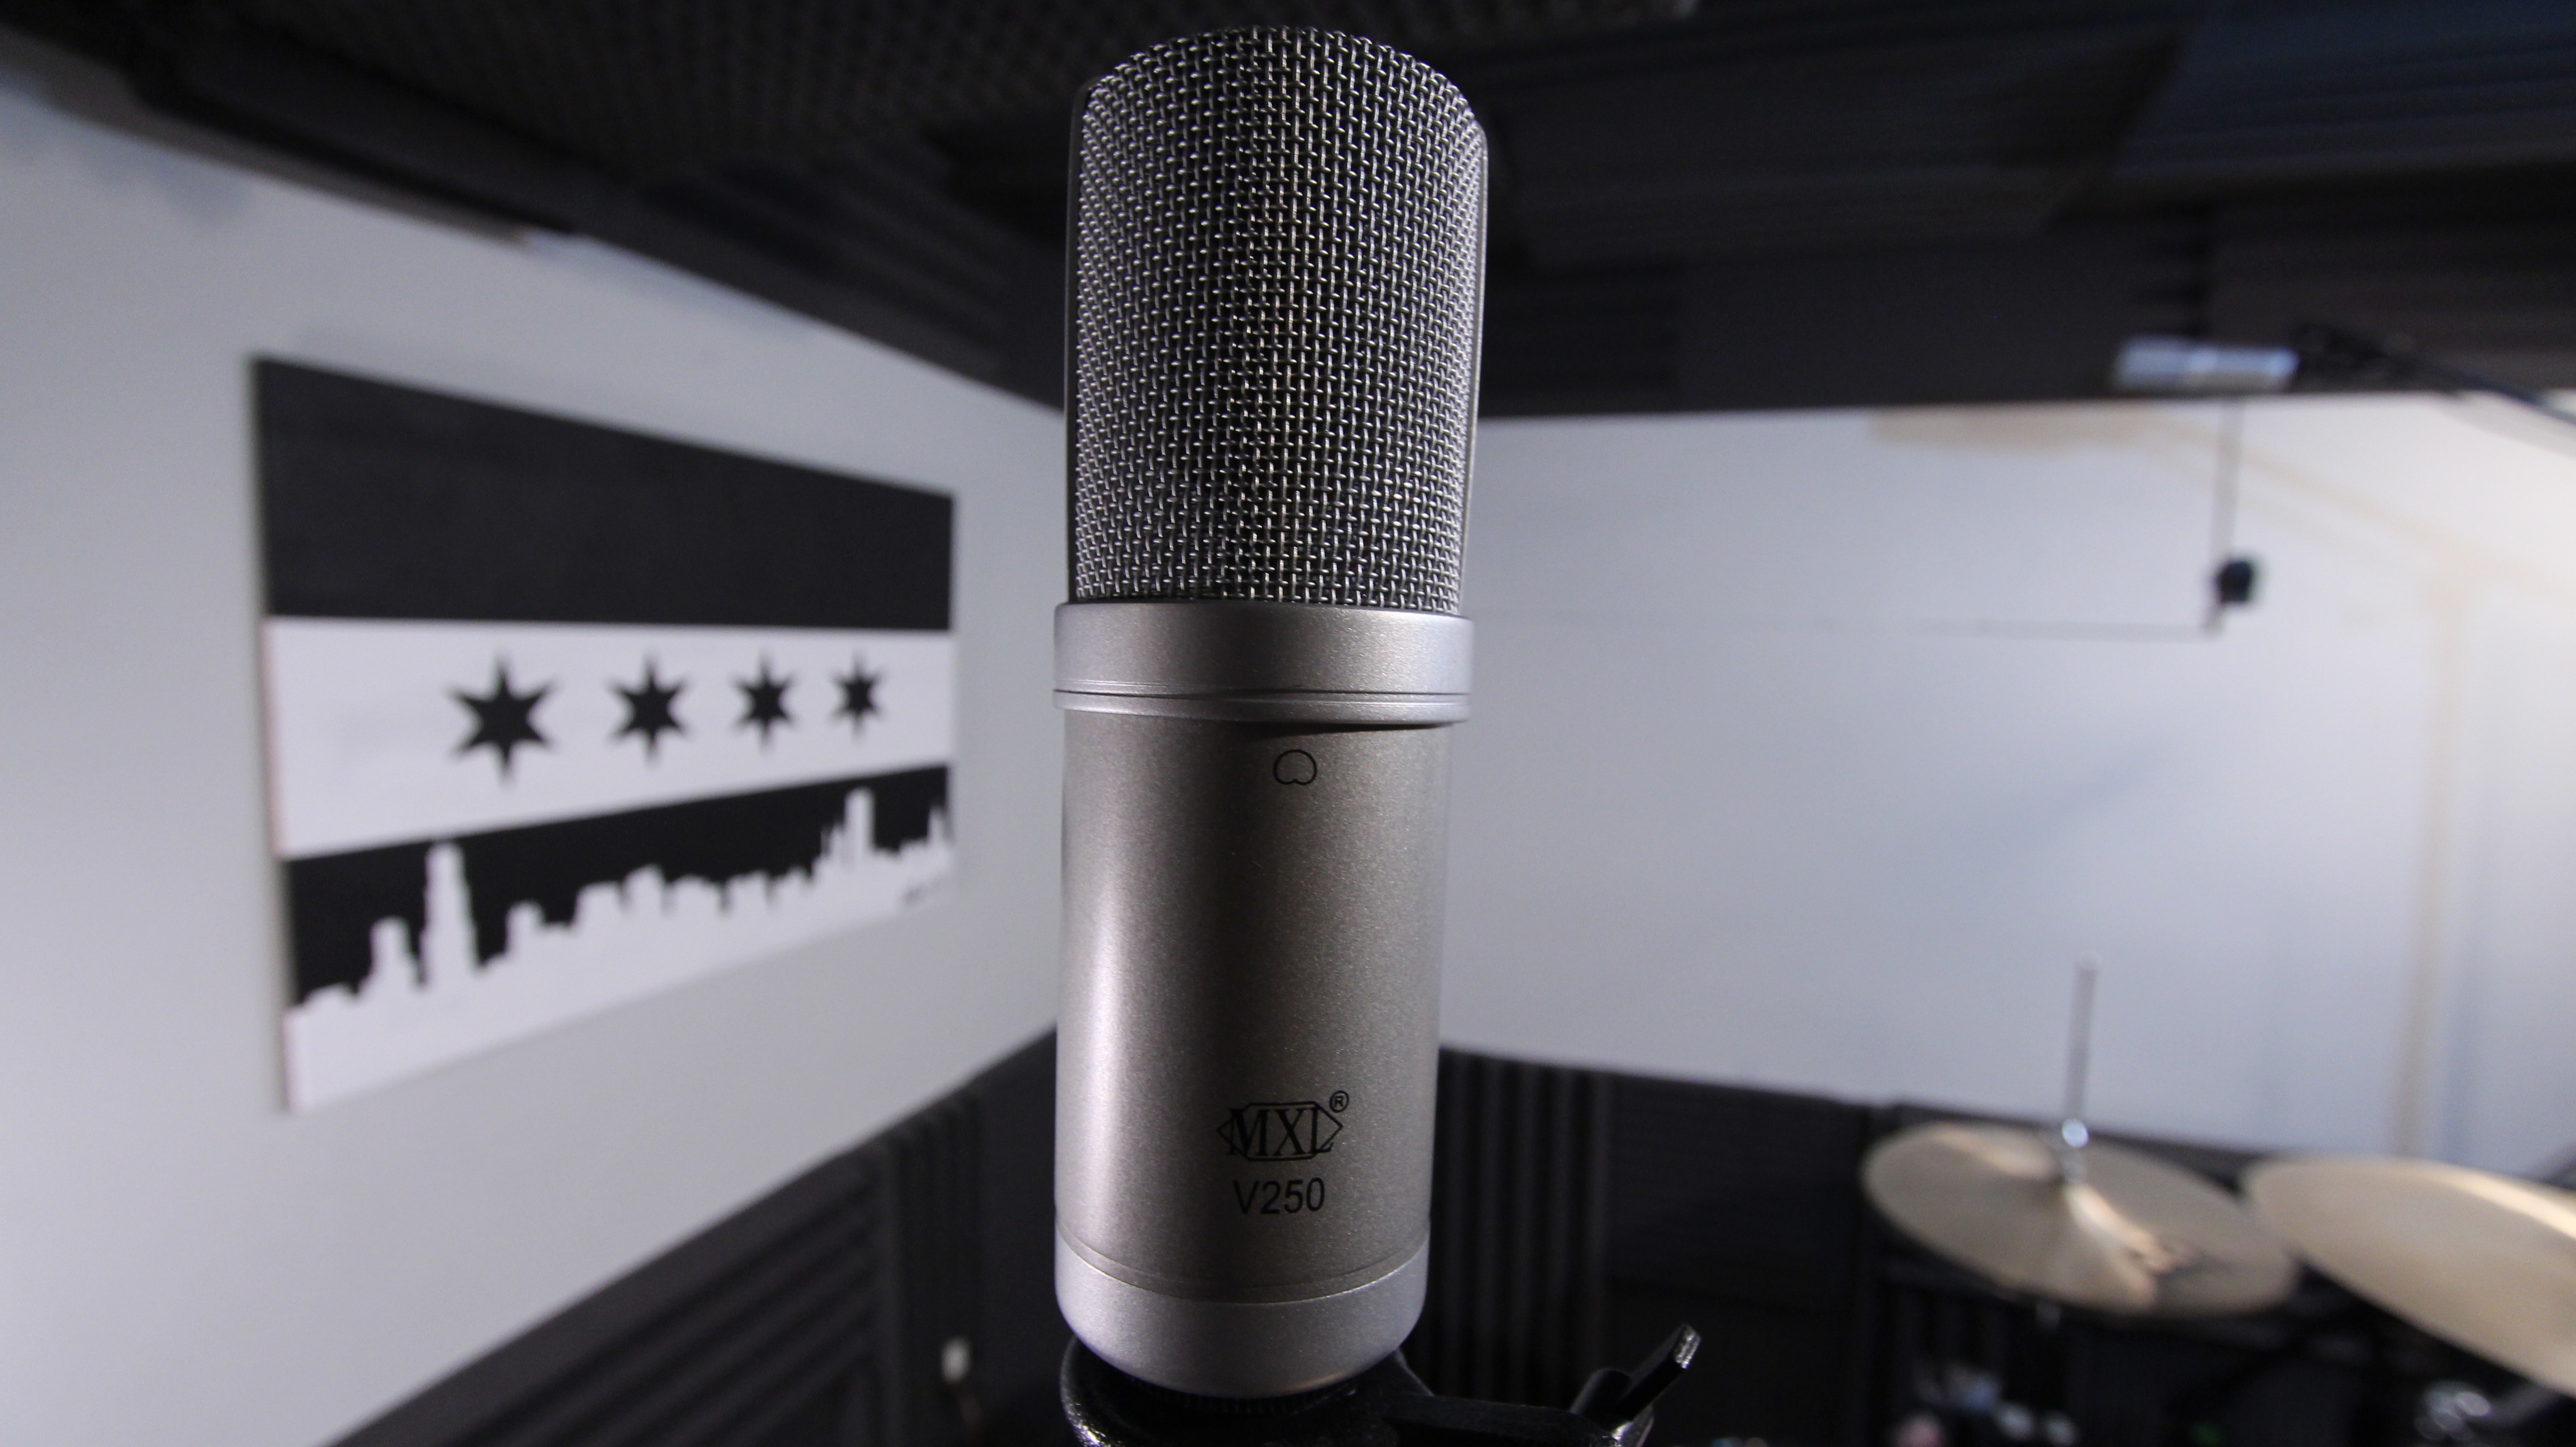
MXL 250 Microphone
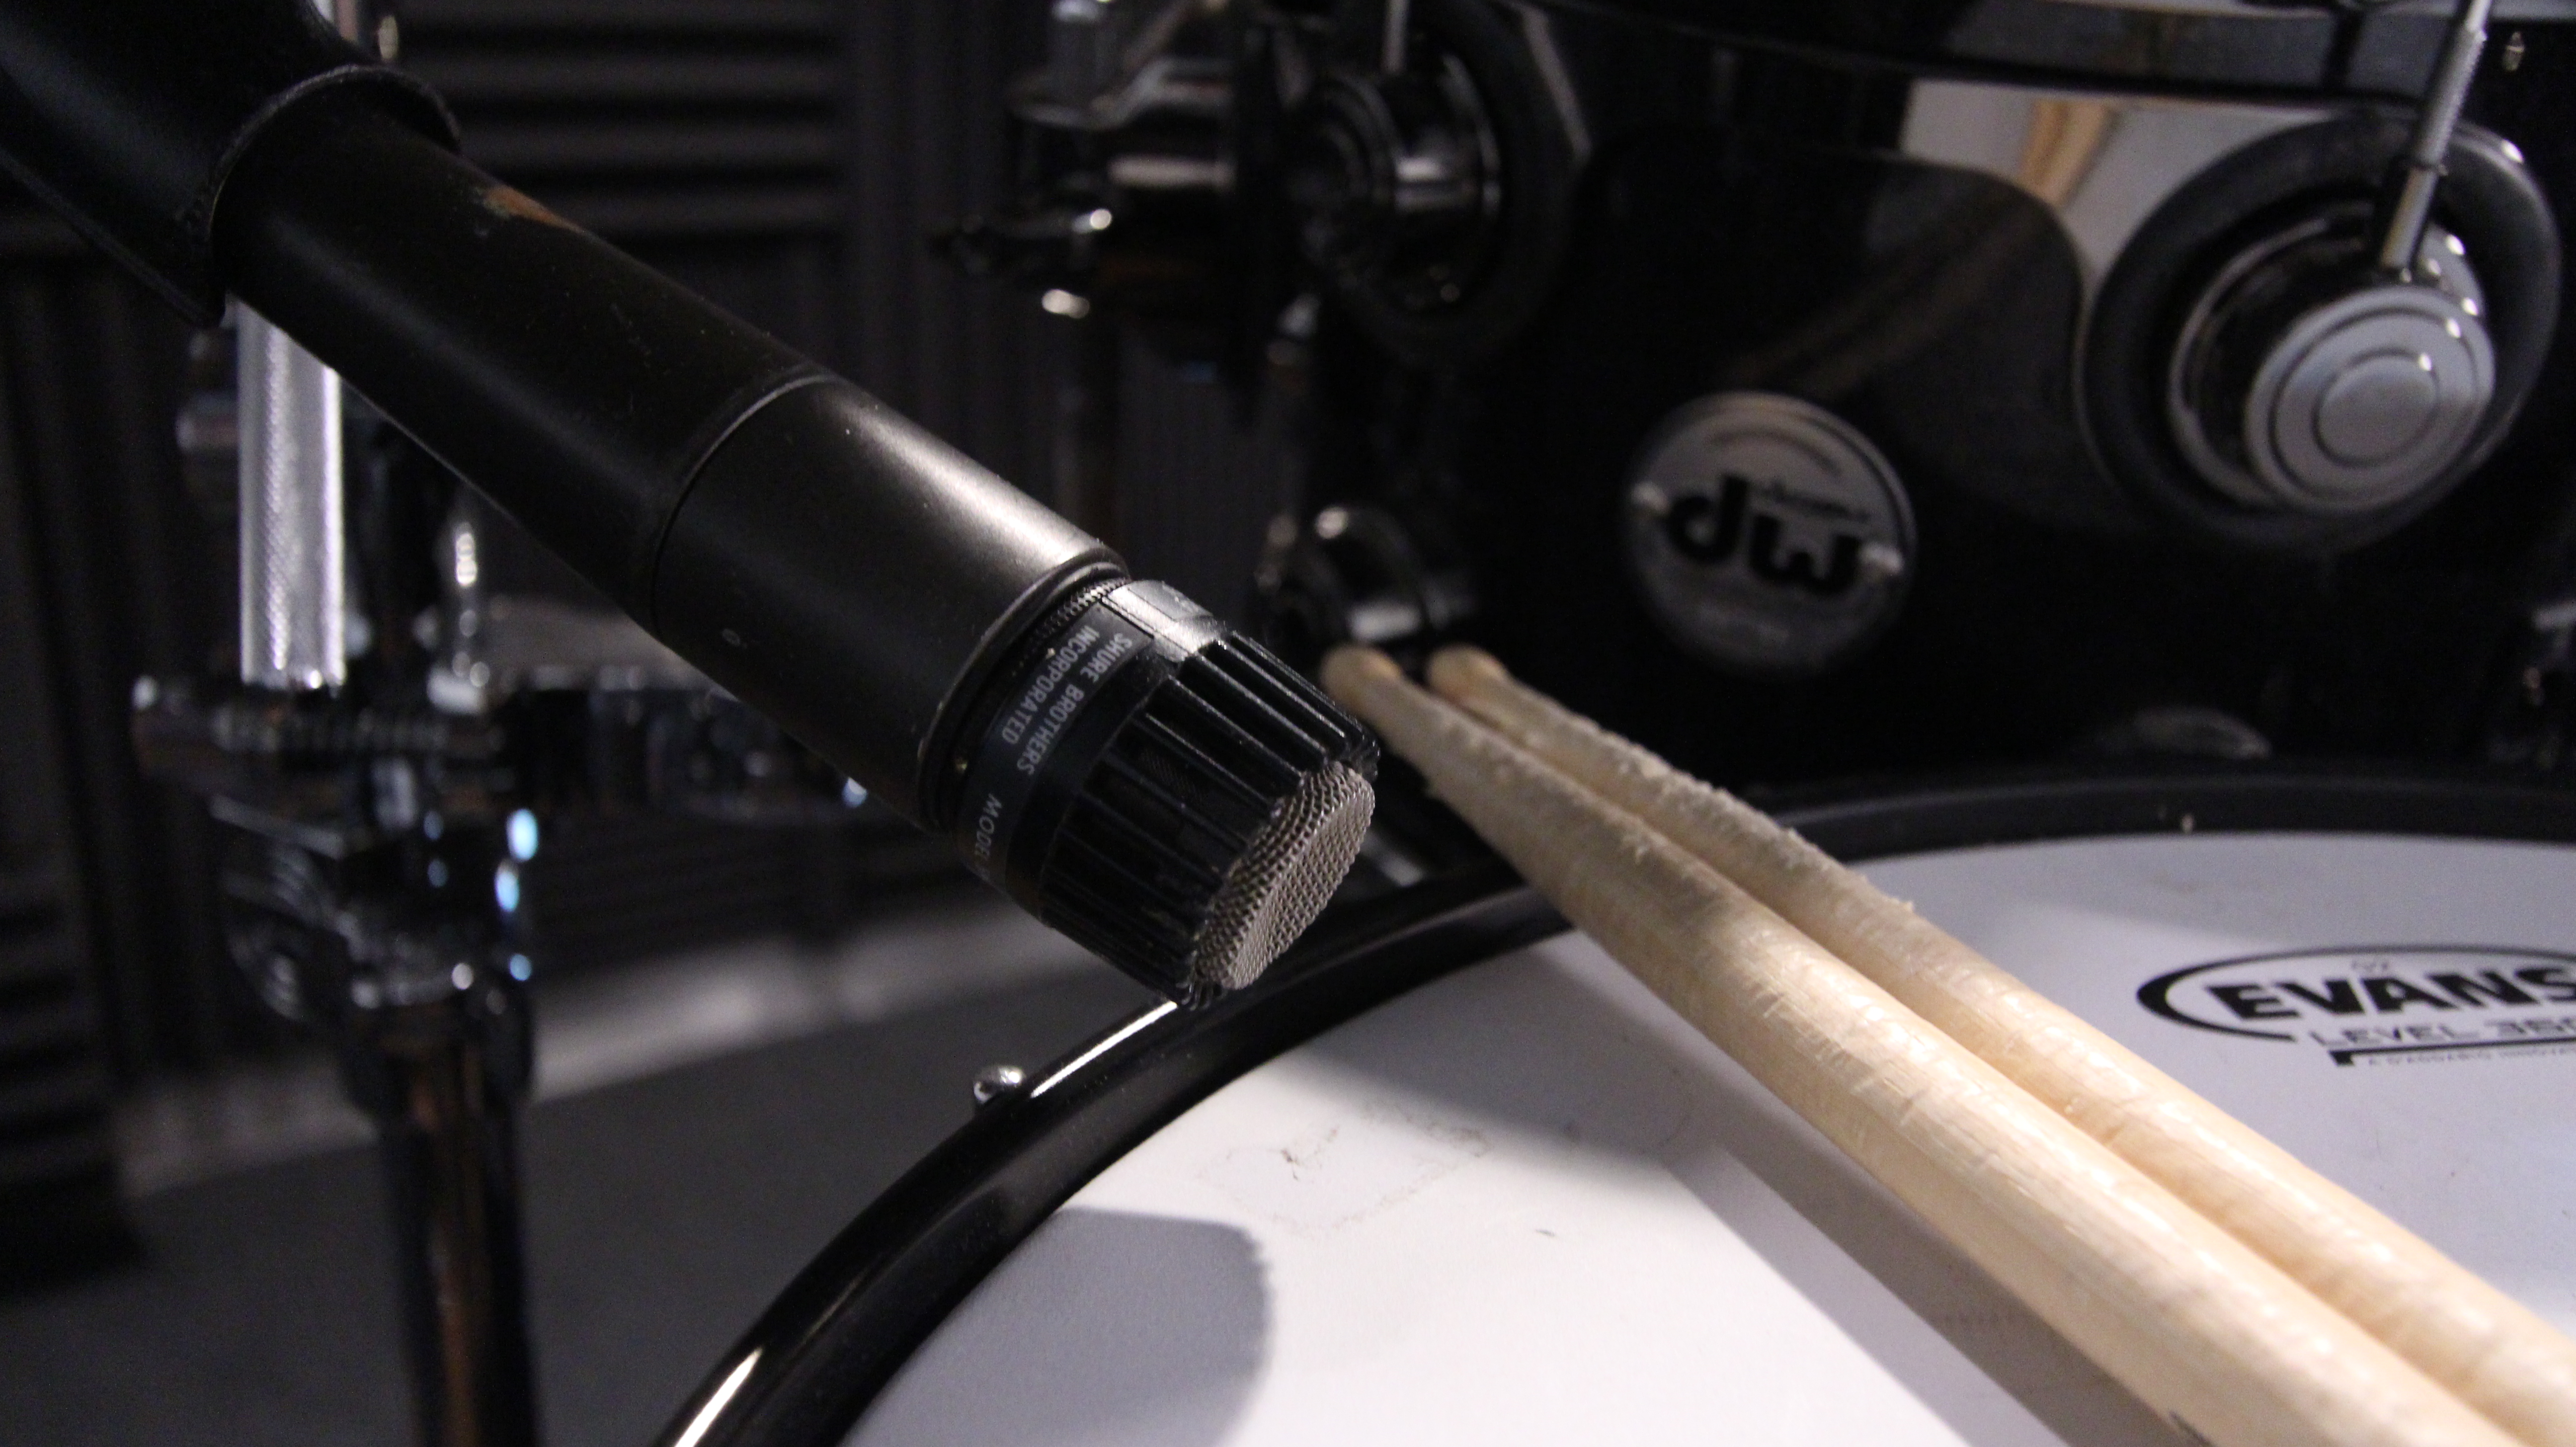
Shure SM57– The industry standard. They are versatile microphones that can be used for vocals, instruments, studio or live application. A lot of studios use these microphones for micing snare drums. Affordable and reliable, this is what I use to capture the sound of my snare drum.
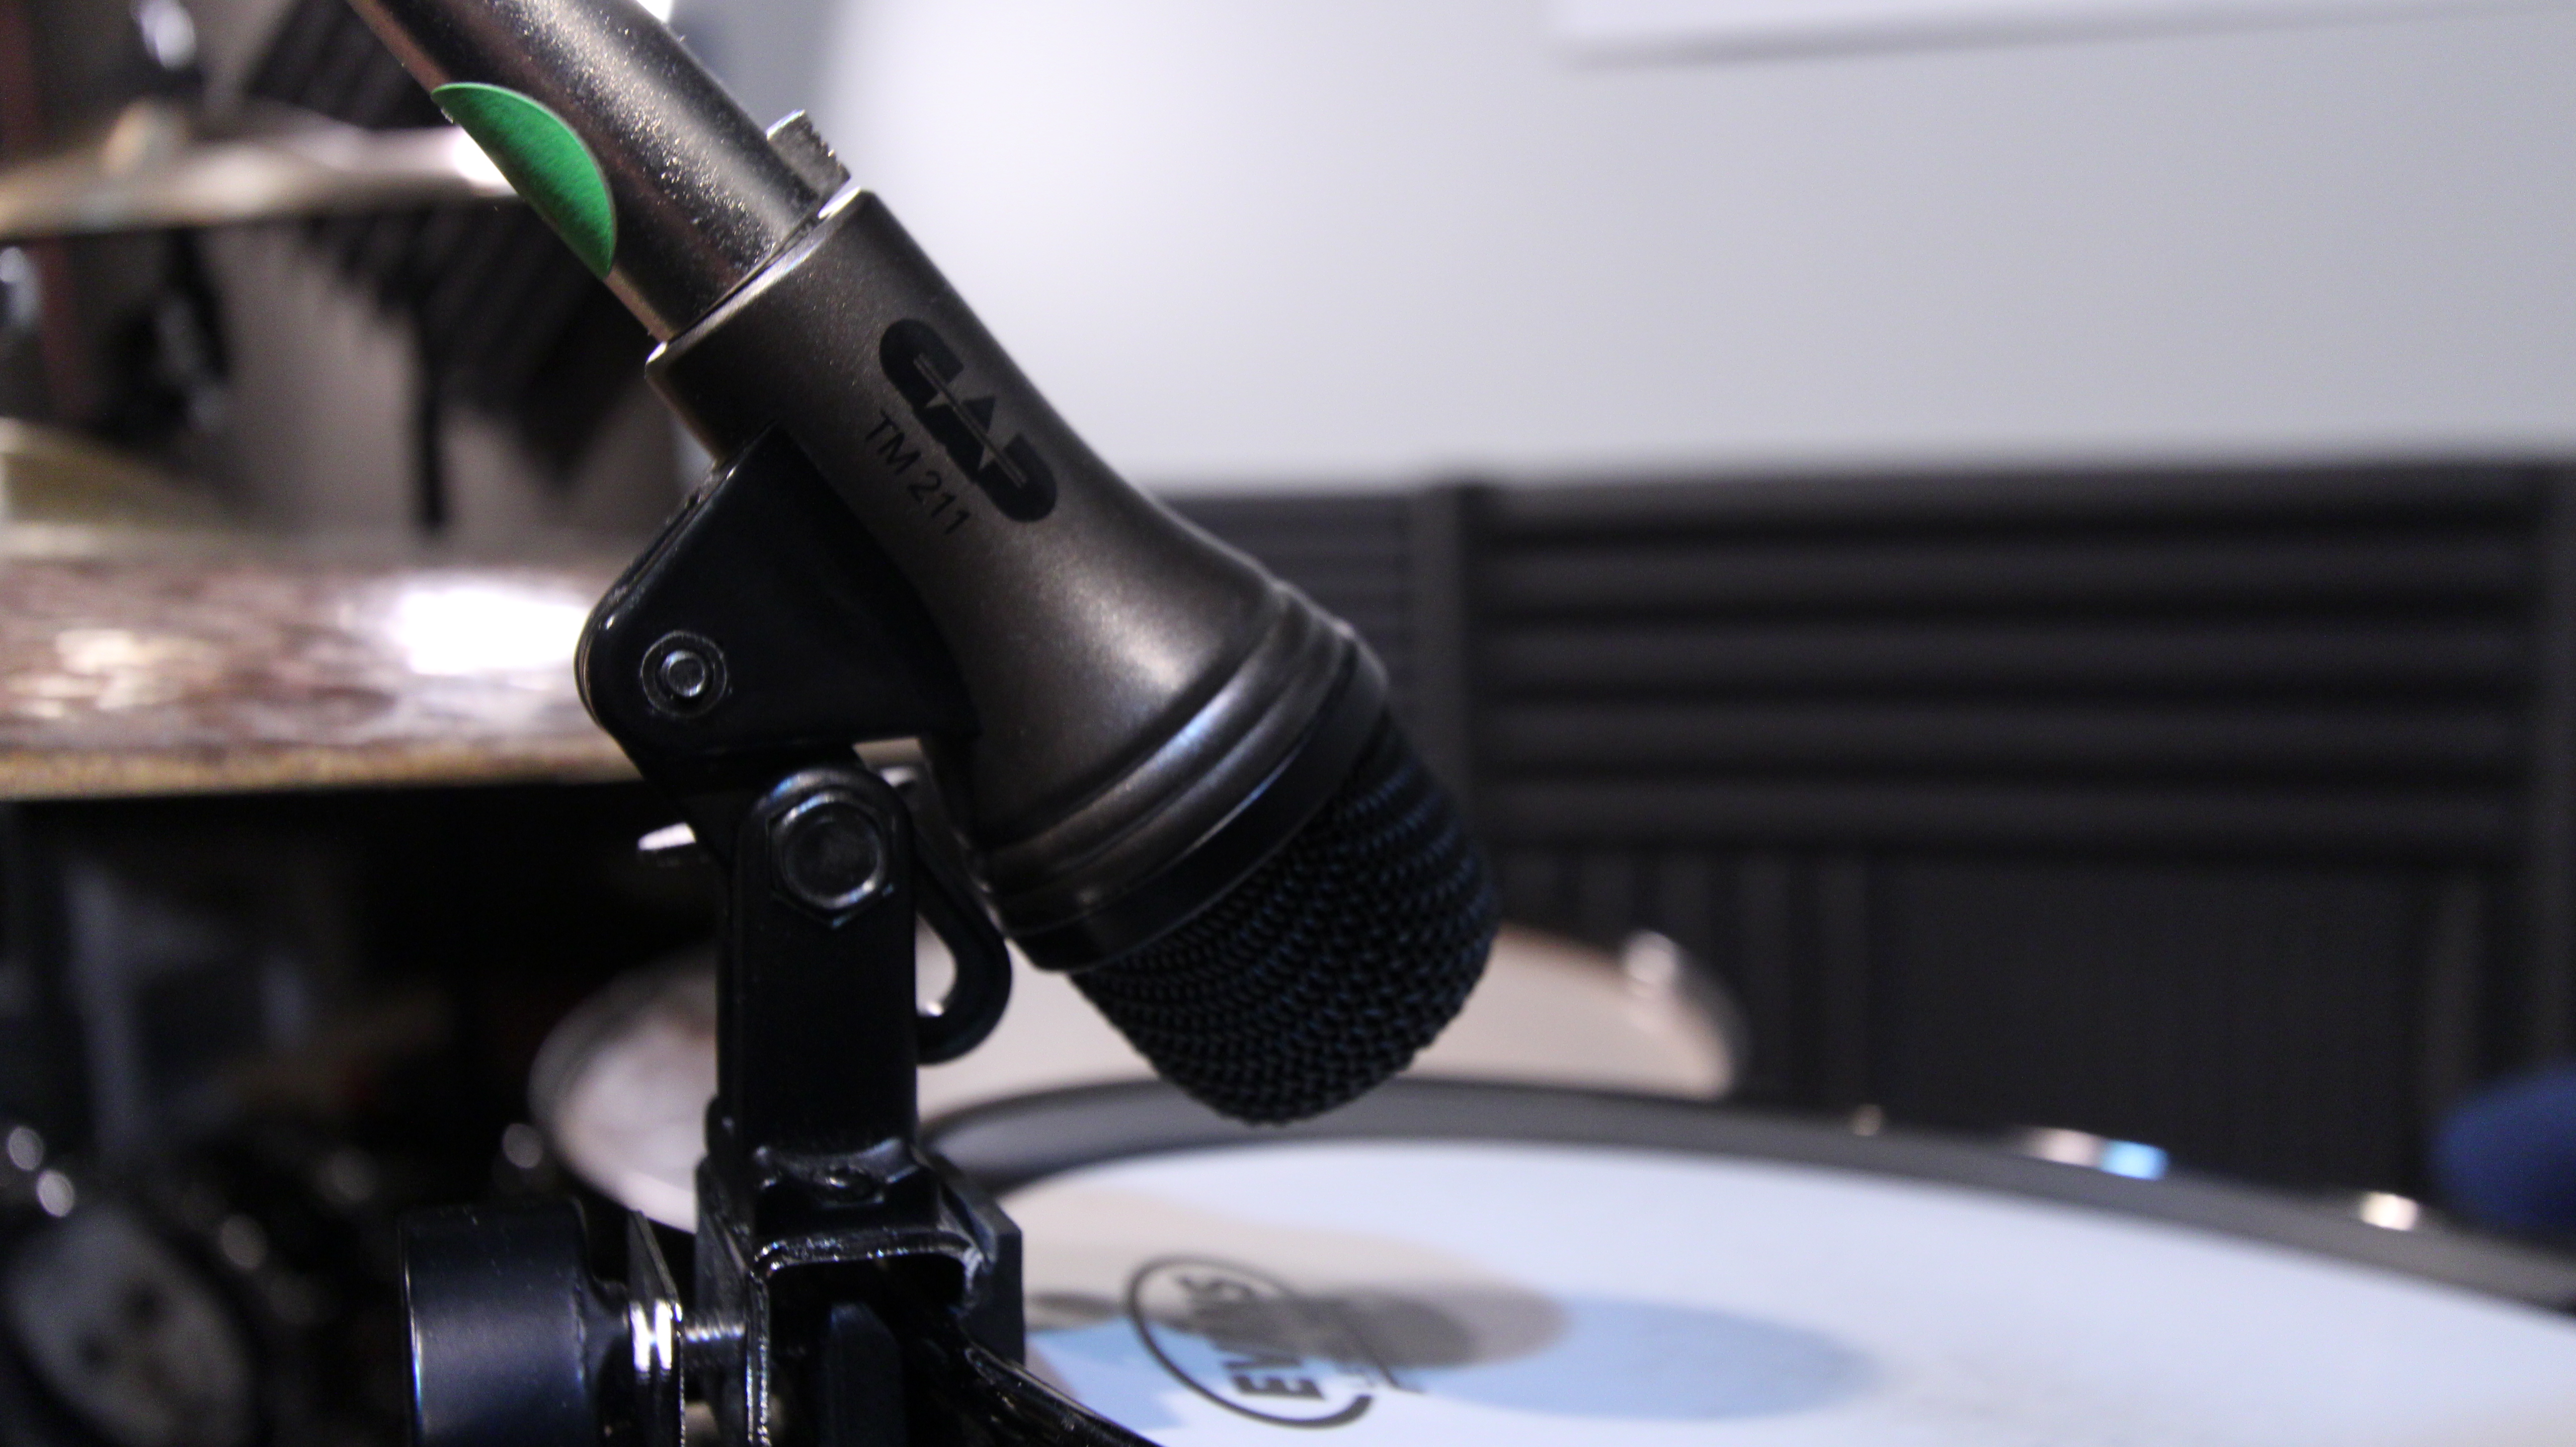
CAD Pro-77 – For rack toms I use the TM211 dynamic cardioid microphone which are part of a very affordable drum microphone kit. Simple and affordable, I find these do the trick. They are resilient that come attached with a drum mount clip.
Shure Beta 52-I use these microphones both on my kick drum and floor tom. They were designed specifically for kick drum. I like the sound it provides. You get great attack and punch. I use them both in recording applications and in live settings.
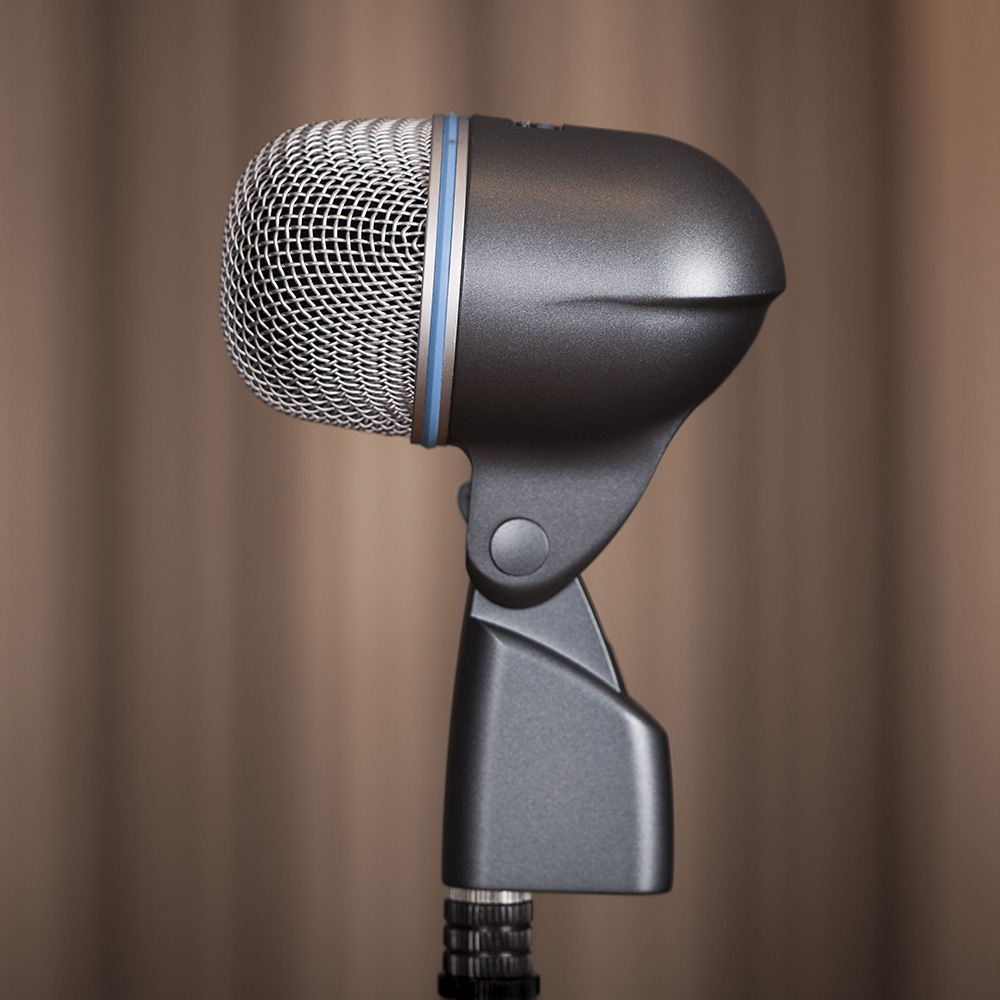
Kick Drum Microphone Shure Beta 52
If your budget allows, I highly recommend purchasing two overhead condenser microphones above any other microphones I’ve mentioned. Your overhead microphones are going to capture a well rounded sound of your kit and the room. The microphones on the kit themselves will simply be complementing the sound we capture with our overheads. If all else fails you can still capture decent sound utilizing simply one overhead microphone like the XML V250.
3.) Digital Audio Workstation. D.A.W is the device you will use to record, edit and produce your audio files for your drum cover video. There are several to choose from. They all work in a similar fashion. Some people like one over the other. One isn’t necessarily better than the other, the key here is to use what you are familiar with. For the purposes of this example, I will be going over how I use Protools for my drum cover videos. I’ve also used Garage band in the past which comes standard on any Mac. It’s also a suitable option to use for your drum cover video audio.
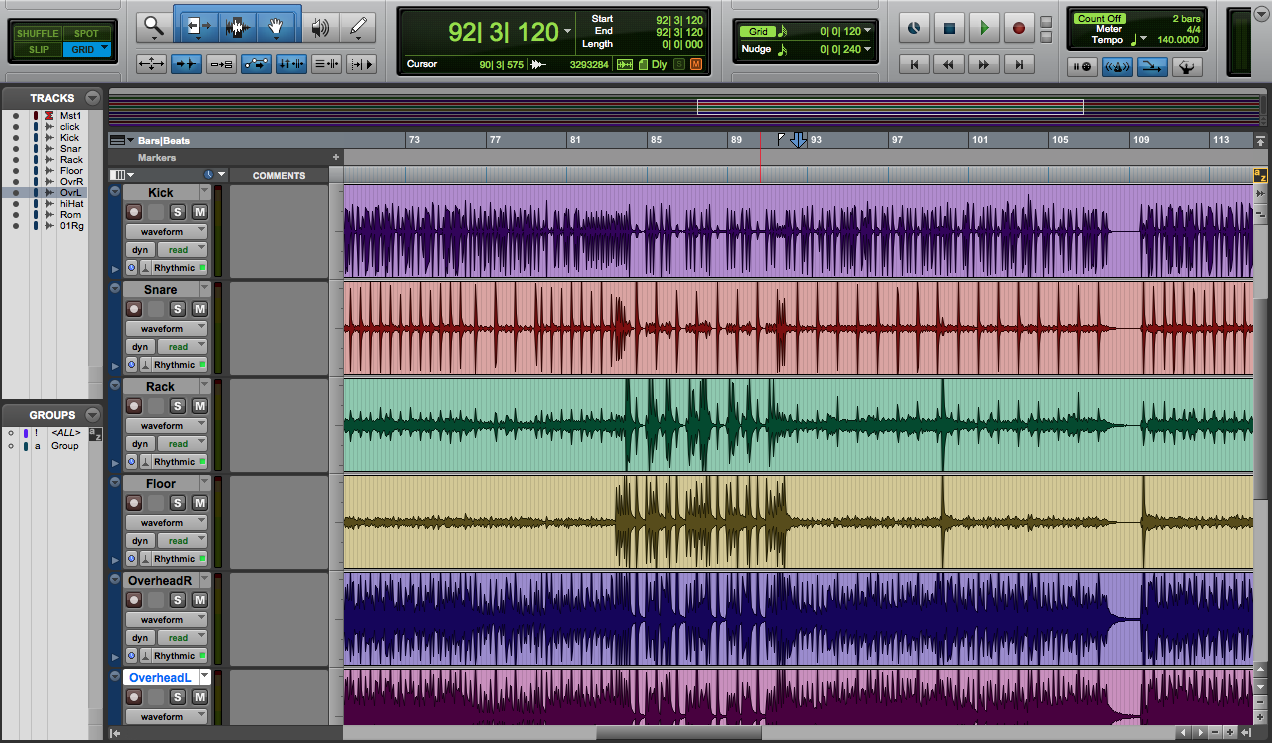
Pro Tools
4.) Interface. You’re going to need an audio interface to connect your microphones, or electronic kit to your computer. These also vary depending on the D.A.W you choose to use and your budget. For this example, I will use the Scarlett 18i20 Focusrite audio interface.
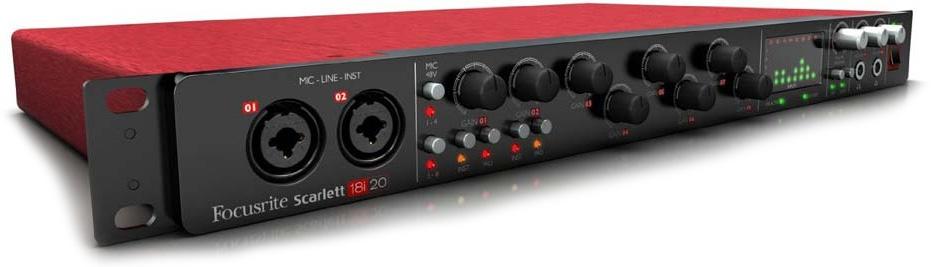
Focusrite Scarlett 18i20
5.) Video Editing software. This is where we will bring everything together. There are various programs that can be used. Some of the most user friendly programs are already included with your computers. iMovie or Windows movie maker are all suitable options for making a great drum cover video. Recently I’ve used Final Cut Pro which allows for multi camera editing quickly and easily.
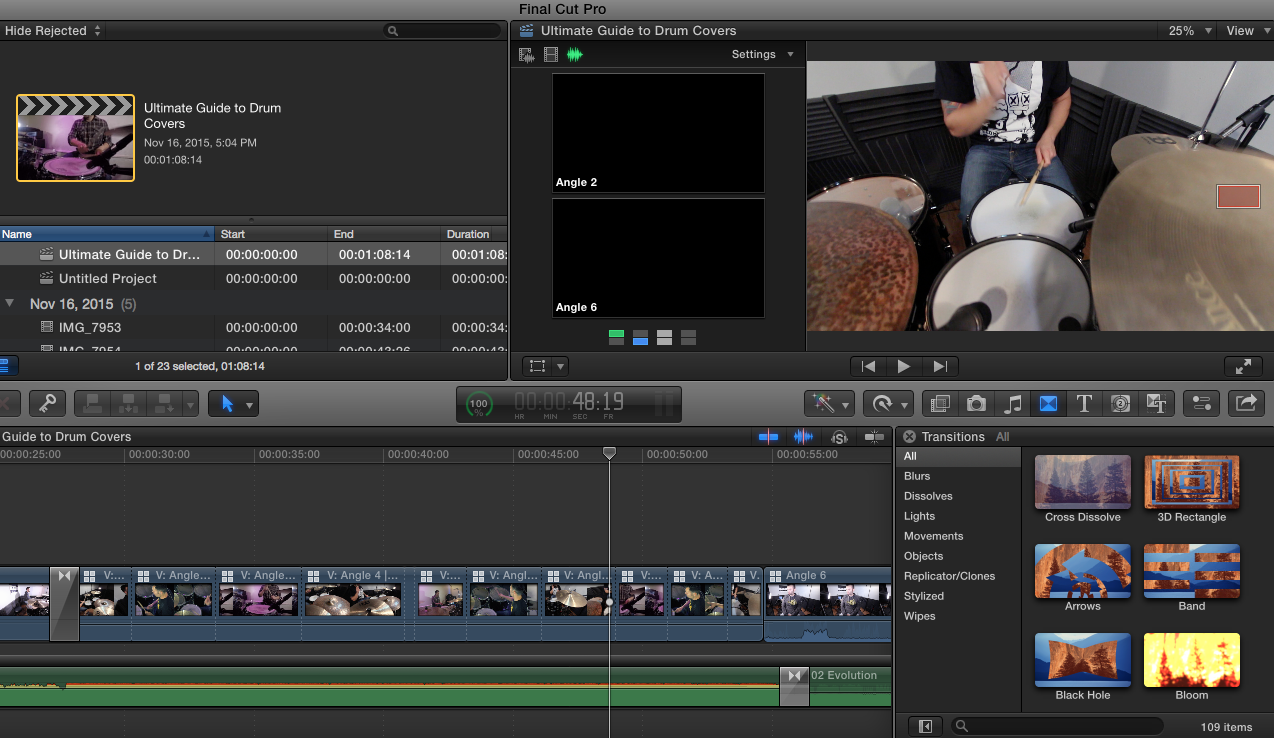
Final Cut Pro
Next week we will go over microphone placement. Although microphone placement will vary room to room, I will go over general guidelines you can use to find the best sound in whatever room you are going to be recording your drum cover in.
Don’t forget to get involved in the conversation, subscribe to the blog and have your questions answered. Pay it forward, share with a fellow drummers.
[…] Part 2 – The Ultimate Guide to Creating A Drum Cover Video […]